Arduino LED Clock
This is still a WIP
As it progresses, I'll be updating this page.
Playing with time
This project started after I bought an Arduino kit to make programming more accessible. It included a few RGB LEDs, photoresistors, switches, and an assortment of resistors, capacitors, etc.
I quickly learned how to activate the LEDs using a photoresistor. But simply turning on the LEDs became too boring, so I thought I'd have them change color based on the time.
This is what led to the idea of creating a motion-activated, LED-based clock. And while the core concept hasn't changed, the design and implementation has evolved - often in the middle of working on it.
In the beginning
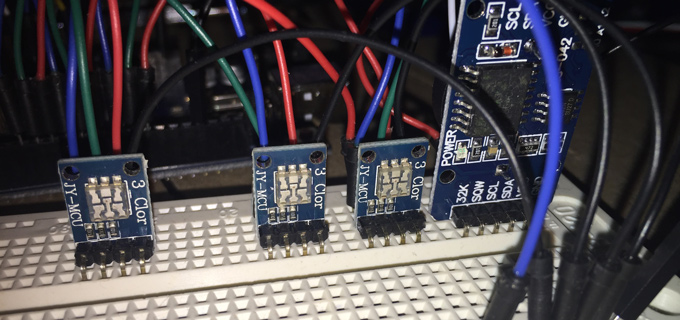
It all started with a photoresistor, three RGB LEDs, and a RTC (real-time clock) module. The LEDs would light up when a photoresistor sensed that the room got dark - or in my case, when I waved my hand over it.

Where you at?
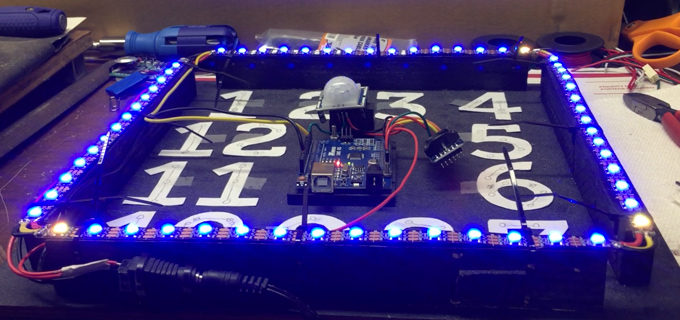
With the basics working, I upped my game with an individually-addressable LED strip and PIR (passive infrared) sensor. A strip of 60 LEDs meant that I could light up the specific minute of the hour. I also made each 15 minute interval orange instead of blue to make it easier to count at a quick glance.
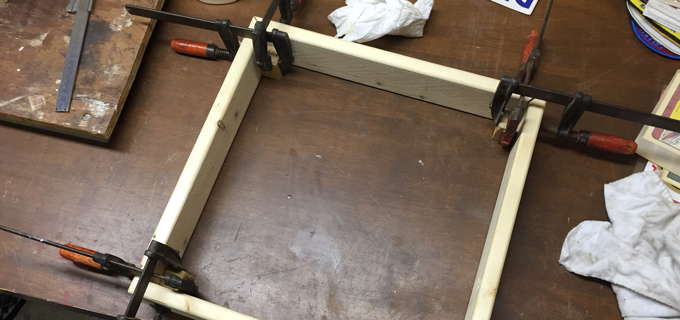
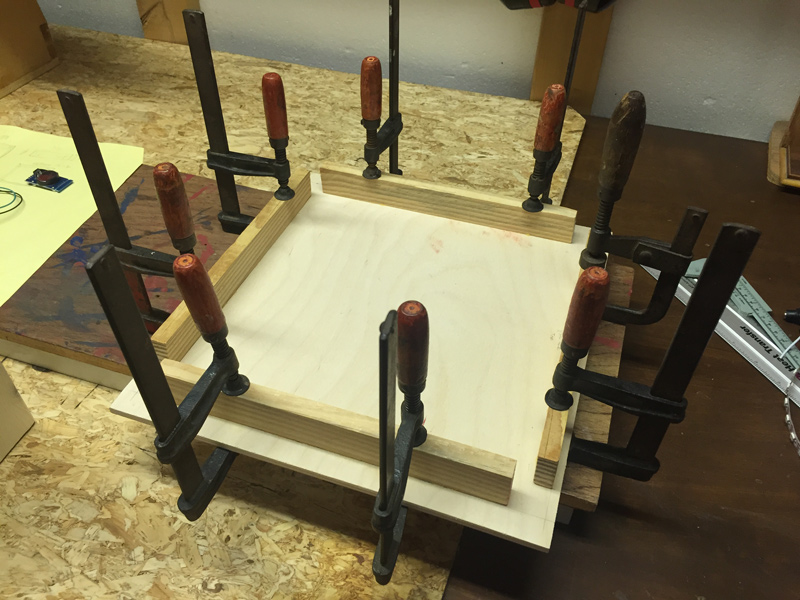
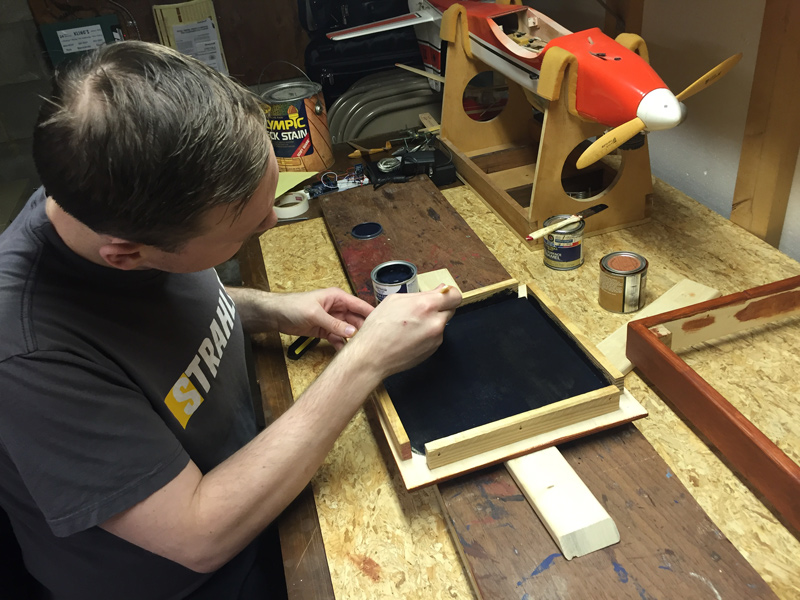
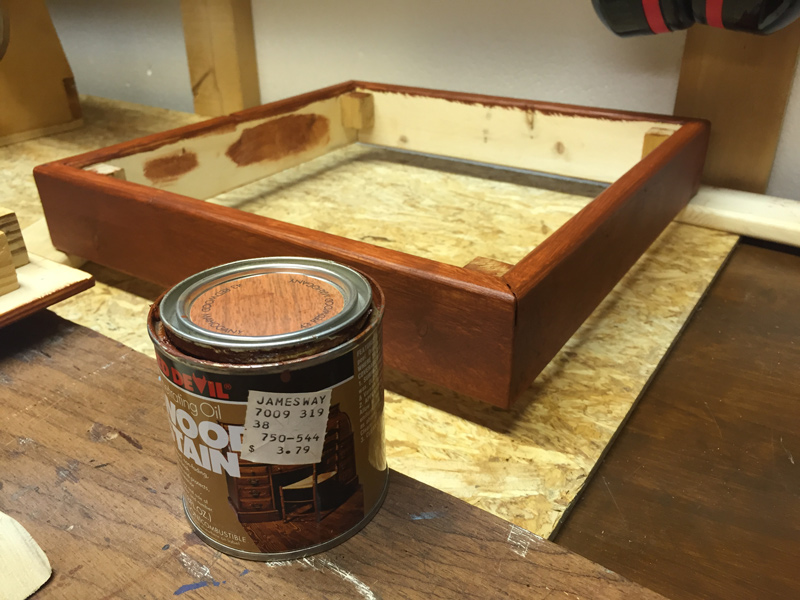
Giving it a home
Let's get this out of the way - this was my first woodworking project ever, so I was learning as I went. I kept the design very simple, and overall it didn't turn out too bad. The blocks in the corners are there to keep the backplate (which holds everything) in the right place.
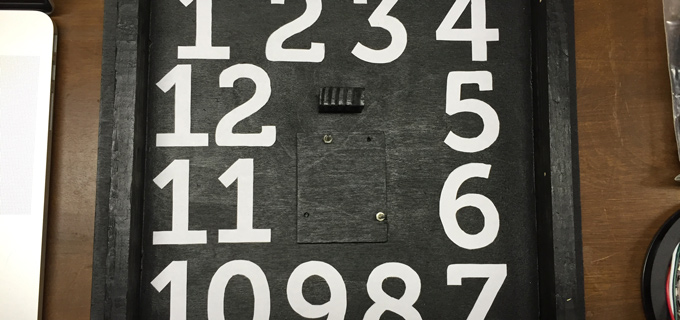
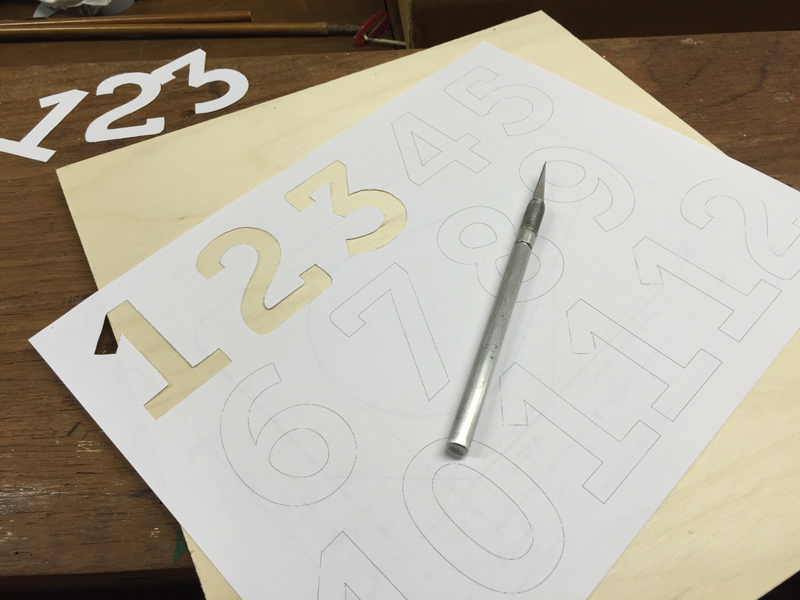
My hours are numbered
The vision here is to place a two-way mirrored piece of plexiglass on top, and the numbers will be 3D printed and individually lit with LEDs. This way it acts as a mirror, and when you walk up to it, the time will be displayed. To understand the size and placement, I printed the numbers to scale and cut them out by hand.